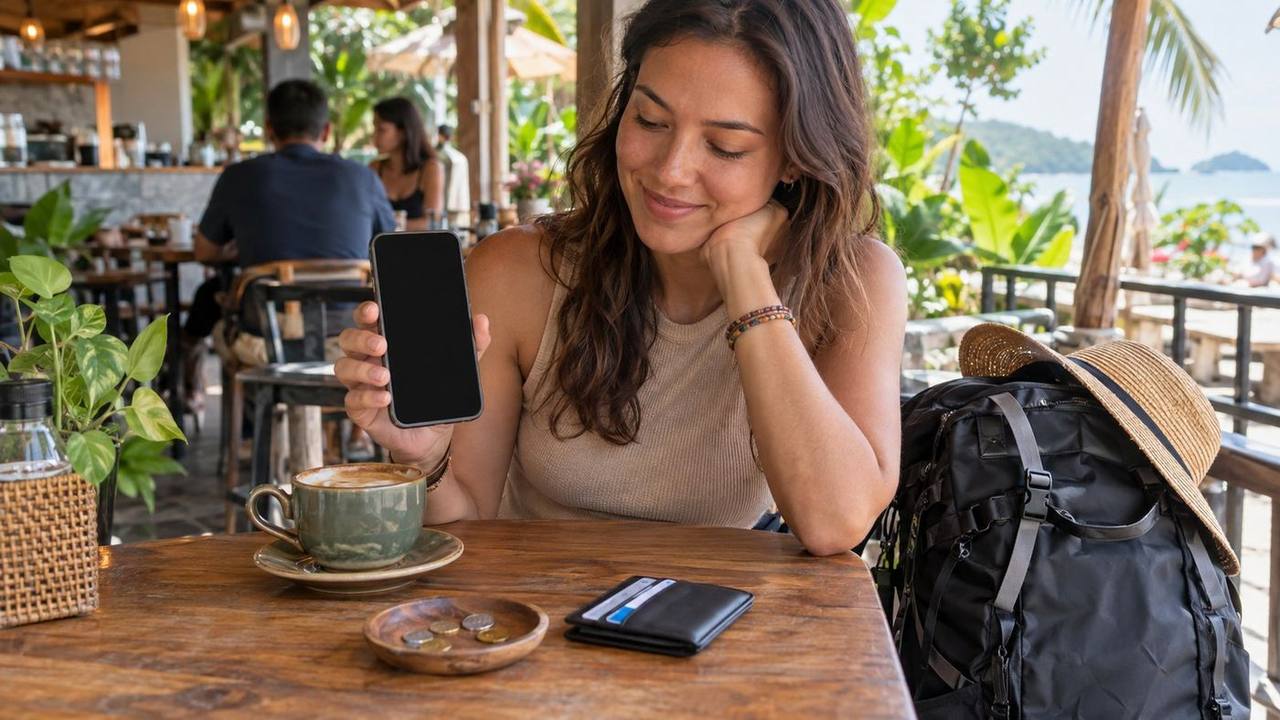
You walk out of arrivals after a long flight. You need a ride to your hostel, but your phone has no data and your wallet has no local cash. This is the moment most travellers wish they had sorted things out the night before.
Getting connected and paid up in a new country is easy once you know the options. Here is a simple set-up that works for most trips.
Your three ways to get mobile data
There are three main ways to get data abroad: roaming on your home plan, a travel eSIM, or a local SIM card. Each one suits a different kind of trip.
Roaming on your home plan
Roaming is the easiest option: your phone just connects when you land. The catch is cost. Some home plans include roaming in certain countries, but many charge high daily fees or price data by the megabyte.
Before you fly, check your provider’s roaming rules for the country you are visiting. If roaming is not included, turn off data roaming in your phone settings before take-off. One automatic app update over roaming can give you a nasty bill.
Travel eSIM
An eSIM is a digital SIM that lives inside your phone. You buy a travel eSIM online, scan a QR code, and it switches on when you arrive. The big plus is that you have data the moment the plane lands, before you even reach the immigration queue.
Things to know before you buy:
- Check your phone supports eSIM. Many newer phones do, but not all. It must also not be locked to one network.
- Many travel eSIMs are data-only. You get internet, but no local phone number for calls or SMS.
- Install it before you leave home, while you still have Wi-Fi. Just do not switch it on until you land.
- Keep your home SIM active if you need it for bank codes sent by SMS.
Local SIM card
A local prepaid SIM is often the best value for longer stays. It also gives you a local number. That matters more than you might think. Guesthouse owners, homestay hosts and boat operators often message you on a local number, and some apps and services ask for one.
You can usually buy a local SIM at official phone shops, convenience stores or counters at the airport. Airport counters are handy, but compare a few, since prices can be higher than in town.
Bring your passport
In many countries, every prepaid SIM must be registered to a real ID. For tourists, that means your passport. Malaysia is one example: tourist SIMs there are registered against your original passport. Carry the actual passport when you go to buy one, not just a photo.
| Option | Best for | Main downside |
|---|---|---|
| Roaming | Very short trips, or when your plan includes it | Can be expensive |
| Travel eSIM | Data from the moment you land; multi-country trips | Often no local number |
| Local SIM | Longer stays; staying in touch with local hosts | Needs passport registration and a shop visit |
A good rule of thumb: use an eSIM for short city trips, and buy a local SIM if you are staying a few weeks or booking homestays and boats by phone.

Using public Wi-Fi safely
Hostels, cafés and airports all offer free Wi-Fi, and it is great for saving data. But public networks are not always safe, so a few habits help:
- Check the network name with staff. Fake hotspots with names like “Free Airport Wi-Fi” do exist.
- Avoid banking on public Wi-Fi if you can. Switch to mobile data for anything involving money or passwords.
- Look for “https” and the padlock in your browser before you type anything private.
- Consider a VPN if you use public Wi-Fi a lot. It encrypts your connection.
- Use two-factor login on your email and banking apps, ideally through an authenticator app rather than SMS.
Cards or cash?
The honest answer is both. In big cities, cards and phone payments work almost everywhere. Once you head to small towns, night markets, rural buses or island jetties, cash often wins. A roadside stall selling snacks will not care about your shiny card.
A simple money plan for any trip:
- Bring two bank cards, ideally from different banks, and keep them in different bags. If one is lost, blocked or swallowed by a machine, you still have the other.
- Tell your bank you are travelling, or check that their app does not need this. Some banks block cards when they see foreign transactions.
- Look for a travel-friendly card with low or no foreign transaction fees. These small fees add up over a long trip.
- Carry enough cash for a day or two, and keep the rest on cards.
- Keep small notes. Big notes can be hard to break at a small stall or on a local bus.
A typical scenario: you reach a small ferry jetty or rural bus station, and the card machine is down or there is none at all. Travellers with a little cash simply pay and go, while others hunt for an ATM that may not exist.
ATM habits that save money and stress
ATMs are usually the easiest way to get local cash. A few habits make a big difference:
- Use ATMs inside banks or malls, ideally in daylight. They are safer and less likely to have card skimmers fitted.
- Check the card slot and keypad. If anything looks loose or odd, walk away.
- Take out larger amounts less often if your bank charges a fixed fee for each withdrawal. Just do not carry more than you feel safe with.
- Stock up before remote trips. Small islands, national parks and villages may have few ATMs, or ones that run out of cash at weekends.
Some local banks also add their own fee for foreign cards. The ATM screen should show it before you confirm, so read it and cancel if it seems high.
Say no to dynamic currency conversion
This is the one money tip every traveller should know. When you pay by card or use an ATM abroad, the machine may ask if you want to be charged in your home currency instead of the local one. This is called dynamic currency conversion (DCC).
It sounds helpful, because you see a familiar number. But the exchange rate is set by the machine operator, and it is usually much worse than your bank’s rate. The answer is simple: always choose to pay in the local currency. Your own bank will then do the conversion, normally at a better rate.
If a shop assistant chooses your home currency for you, it is fine to ask them to redo it.
Money changers
If you bring cash from home, licensed money changers in town or in malls usually give better rates than airport counters. Major currencies like US dollars and euros are easy to change in most places.
A few tips:
- Compare the buy rate at two or three counters before you change a big amount.
- Count your money at the counter before you walk away.
- Never change money with people who approach you in the street.
E-wallets and QR payments
In many countries, especially across Asia, paying by scanning a QR code with a phone app is now normal. Even tiny stalls may have a QR sticker on the counter.
The tricky part for travellers is that many local e-wallets need a local phone number, a local bank account or a local ID to sign up. Some have started to accept tourists using a passport, but rules vary by country and change often. Check the e-wallet’s official site before you rely on it.
If you cannot sign up, do not worry. Cash plus a card covers almost everything. In some cities, a stored-value transport card (like Malaysia’s Touch ‘n Go card) also helps, because it works on trains and buses without a local bank account.
Apps worth having on your phone
You do not need dozens of apps. These are the types worth having ready:
- Maps with offline downloads. Download the map of the area before you go somewhere with weak signal. It works on GPS without data.
- Ride-hailing. Most regions have one or two main apps. You see the price before you book, and you skip haggling. Many have safety tools like trip sharing, an SOS button and number masking.
- Translation. Pick one that works offline and can read text through your camera. It is a lifesaver for menus and signs.
- Messaging. Find out which app is popular where you are going. In much of Southeast Asia, hosts and tour operators use WhatsApp rather than email.
- Your bank’s app, so you can freeze a card in seconds if it goes missing.
- Offline copies of key documents. Keep scans of your passport, insurance and bookings saved on your phone and in your email.
Set these up and log in at home. Many apps send a code by SMS when you first sign in, and that is much harder once you swap SIM cards.
A common mistake is installing too many apps that do the same job. Keep one of each type, and delete anything you have not opened by the end of your first week.
A quick arrival checklist
Here is what to do in the first hour after landing:
- Switch on your eSIM or buy a local SIM, then test the data.
- Withdraw enough local cash for a day or two from an ATM inside the airport, and choose local currency.
- Open the ride-hailing app, add a payment method and book your ride.
- Message your accommodation to say you are on the way.
For more help before your trip, read First-Time Backpacker’s Guide: How to Plan Your First Trip, and if you are travelling alone, see Solo Female Backpacking: Safety Tips That Work. To keep your gadgets charged on the road, check Travel gadgets worth bringing, and ones to leave behind.
Your next step: check tonight whether your phone supports eSIM and whether your bank card charges foreign fees. Those two answers will shape the rest of your set-up.
Sources
- FAQ: CelcomDigi Tourist SIM (passport registration for tourist SIMs in Malaysia, checked Oct 2026): https://help.celcomdigi.com/en/support/solutions/articles/70000683465-faq-celcomdigi-tourist-sim-effective-1-july-2026-
- Enhanced Touch ‘n Go Card (Touch ‘n Go): https://www.touchngo.com.my/consumer/toll/card/