You have a map open, twenty browser tabs, and a growing list of places you want to see. Then the questions start. How long do I need? What papers do I need? What if I get sick? It feels like a lot for a first trip.
This guide answers the questions most people ask before their first backpacking trip. It covers planning, money, documents, safety and manners, then what to expect in your first few days on the road.
One thing surprises many first-timers: the hard part is rarely the travel itself. It is the planning before you go, and that part gets much easier once you break it into steps.
Step 1: Plan your trip in rough strokes
The biggest first-timer mistake is trying to see too much. Moving every day is tiring, and you spend more time on buses than in places.
Pick a region, not a list
Start with one country, or two or three neighbours that are easy to travel between. Southeast Asia is popular for first trips because buses, trains and ferries link many towns, and backpacker hostels are easy to find.
Decide how long, then slow down
Once you know how many days you have, plan to stay at least two or three nights in each place. A good rough rule: one base for every three or four days of travel. Leave a few empty days for rest, bad weather or a place you fall in love with.
Check the season
Weather can make or break a trip. Monsoon rain can close island boats, and some hiking trails shut in the wet season. Read up on the climate for each region before you lock in dates. See How Monsoon Seasons Affect Your Trip (and How to Plan Around Them).
Book the first nights, keep the rest loose
Book your flight and your first two or three nights of accommodation. After that, leave room to change your plans. You will meet other travellers with great tips, and a loose plan lets you follow them. The exception is busy holiday periods, when it pays to book ahead.
Step 2: Build a budget that works
You do not need exact numbers to plan a good budget. You need a method.
- Split your costs into groups: flights, beds, food, local transport, activities and a buffer.
- Research a daily figure for your destination. Look at recent hostel prices and travel blogs, and check the date on anything you read.
- Multiply by your number of days, then add flights and any big one-off costs like a dive course or a trek.
- Add a buffer of 10–20% for surprises, like a missed bus or a doctor visit.
Easy ways to make your money go further:
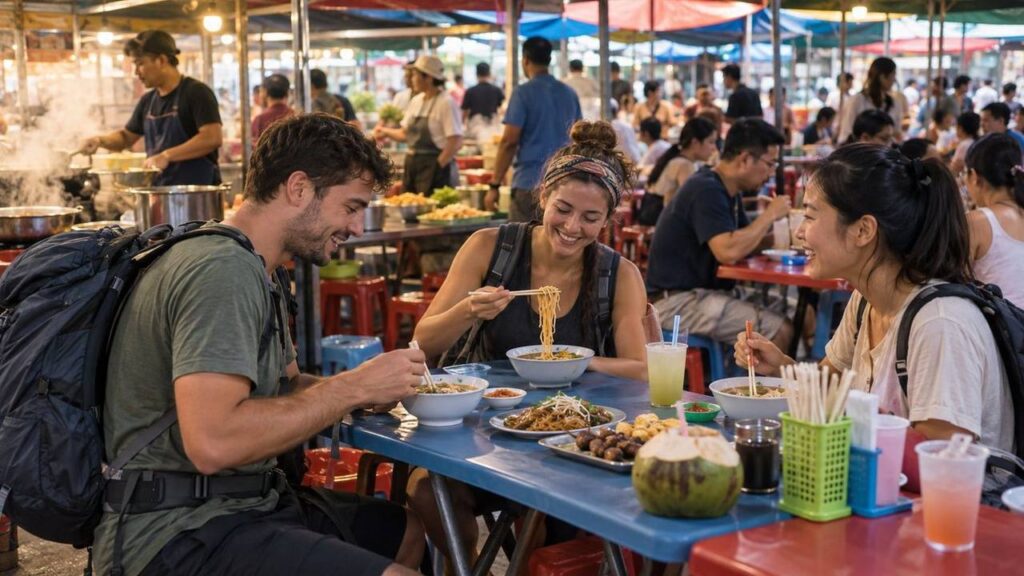
- Eat where locals eat. A hawker stall or a mamak restaurant is cheap, tasty and a big part of the fun.
- Take overnight buses or trains to save a night’s accommodation.
- Stay in dorms or homestays rather than hotels.
- Travel in the shoulder season, just before or after the busiest months.
Once you are on the road, track what you spend. A notes app, a simple spreadsheet or a budgeting app all work. Write down every purchase at the end of the day, then check your total each week. If you are over budget, cut back early rather than in your last week.
For transport savings, read How to Travel Cheaply by Bus, Train and Ferry.
Step 3: Sort your documents early
Passport validity
A good rule of thumb: make sure your passport is valid for at least six months after the date you plan to leave the country. Many countries ask for this, and airlines can refuse to let you board if it is too short. Malaysia, for example, asks for more than six months’ validity. Also check you have a few blank pages for stamps.
Visas
Visa rules depend on your passport and change often. Always check the official embassy or immigration website of each country you will visit, not a forum post from three years ago. Some countries ask for proof of an onward ticket or enough money for your stay.
Arrival cards
Many countries now ask for an online arrival form before you land, for example Malaysia’s MDAC (Malaysia Digital Arrival Card). These forms usually have a time window, so you fill them in a few days before you arrive. Always check the official immigration site for the rules and use only the official link. Fake sites copy these forms and charge a fee for something that is often free.
Keep copies
- Take a photo of your passport photo page, visas, insurance and bookings.
- Save them in your email or cloud storage, and keep a paper copy in a different bag.
- Write down your embassy’s contact details.
Step 4: Get travel insurance
Do not skip travel insurance. A hospital stay or emergency flight home can cost far more than your whole trip.
When you compare policies, check:
- Medical cover and emergency evacuation, including how much they pay.
- Activities. Diving, trekking and riding a motorbike are often excluded unless you add them.
- Gear cover for phones, cameras and laptops, and the limit per item.
- Cancellation and delays.
- What you need to claim, like police reports or receipts.
Buy it as soon as you book your flight, so cancellation cover starts early. Save the emergency number in your phone.
Step 5: Look after your health
- See a doctor or travel clinic several weeks before you go. Ask which vaccines are advised for your route.
- Pack a small first-aid kit: plasters, pain relief, rehydration salts, antiseptic, and any personal medicines.
- Carry medicines in their original packets, with a copy of your prescription. Some medicines are restricted in some countries, so check before you fly.
- Protect yourself from mosquitoes. In the tropics, illnesses like dengue spread through bites. Wear repellent, especially at dawn and dusk.
- Drink enough water in hot weather, and ask whether the tap water is safe to drink.
- Be careful with food at first. Busy stalls with fast turnover are usually a safe bet.
Step 6: Stay safe on the road
Most trips go smoothly. A few habits make that more likely.
- Watch your bag in cities. Bag snatching happens in big cities in many countries, sometimes by thieves on motorbikes. Carry your bag on the side away from the road.
- Split your money and cards between bags.
- Use licensed taxis or ride-hailing apps, especially at night.
- Share your plans with someone at home, and check in now and then.
- Never touch drugs. In some countries, including Malaysia, even small amounts can lead to long jail sentences or worse.
- Watch your drink, and buy alcohol only from proper bars and shops.
- Save the local emergency number. In Malaysia it is 999, and 112 also works from mobiles.
- Trust your gut. If a place or person feels wrong, leave.
Travelling alone? Read Solo Female Backpacking: Safety Tips That Work.
Step 7: Respect local customs
People are usually patient with visitors, but a little effort goes a long way.
Dress at religious sites
When you visit a mosque, temple or church, cover your shoulders and knees. Some places will refuse entry if you do not. A light sarong or scarf in your daypack solves this in seconds. Many mosques and temples also ask you to remove your shoes, so wear sandals that slip off easily.
Everyday manners
- Take off your shoes when you enter someone’s home. Look for a pile of shoes at the door.
- In many parts of Asia, use your right hand to give, take and eat.
- Ask before taking photos of people, especially at religious sites.
- Keep public affection low-key in conservative areas.
- Learn a few words: hello, please, thank you and how much. In Malay that is “terima kasih” for thank you and “berapa?” for how much.
A common slip for first-time guests in a Malaysian home is walking in with shoes on, or refusing food and drink straight away. Leave your shoes at the door, accept a drink if offered, and try at least a little of what is served. A simple “terima kasih” when you leave is always appreciated.
Pack light
Your bag will come everywhere with you, up stairs and onto buses. Most first-timers pack too much. Start with Backpacker Essentials: 8 Small Things Worth Packing, and if you have not picked a bag yet, see How to Choose a Backpack for Travel: A Practical Guide.
Your first days on the road
The first few days are the hardest. You might be tired, jet-lagged and a bit overwhelmed. That is normal.
- Plan an easy first day. Book a bed near the airport or station, and do not plan any big sights.
- Get connected and get cash as soon as you land.
- Walk around your area to find food, an ATM and a shop.
- Talk to people in your hostel. Other travellers are the best source of fresh tips.
- Expect small mistakes. You will take a wrong bus or pay a bit too much. It happens to everyone.
- Rest when you need to. A lazy afternoon is not wasted.
For SIM cards, cards, cash and apps, read Staying Connected and Handling Money When You Travel.
Things many backpackers wish they had known in their first week:
- You will not see everything, and that is fine.
- Your plans will change, so keep some bookings flexible.
- Laundry is cheap and easy, so you need fewer clothes than you think.
- Asking hostel staff for help is normal. They answer the same questions every day.
Your next step
Three things to do this week: check your passport expiry date, look up the visa and arrival form rules on the official immigration sites for your route, and get a travel insurance quote. Once those are sorted, the fun part begins.
Sources
- Visa Requirement for Foreigners, High Commission of Malaysia, Ottawa (Ministry of Foreign Affairs Malaysia): https://www.kln.gov.my/web/can_ottawa/requirement_foreigner
- Malaysia Digital Arrival Card, official portal (Immigration Department of Malaysia): https://imigresen-online.imi.gov.my/mdac/main
- Malaysia Digital Arrival Card (Wikipedia, free status and fake-site warning): https://en.wikipedia.org/wiki/Malaysia_Digital_Arrival_Card
- Malaysia travel advice: Safety and security (GOV.UK): https://www.gov.uk/foreign-travel-advice/malaysia/safety-and-security
- Malaysia travel advice: Getting help (GOV.UK): https://www.gov.uk/foreign-travel-advice/malaysia/getting-help